How to Control Attic Moisture and Protect Your Home
Your attic might be out of sight, but it shouldn’t be out of mind. This often-neglected space plays a critical role in your home’s overall health. When moisture builds up in the attic, it can lead to a cascade of problems, from structural damage to poor indoor air quality. Understanding how to control attic moisture is essential for protecting your investment and ensuring your home remains a safe, comfortable environment.
This guide will walk you through everything you need to know about how to control attic moisture. We’ll explore why it’s such a significant issue, help you pinpoint the source of the problem, and provide a detailed roadmap for fixing it. You’ll learn which solutions you can implement yourself and when it’s time to call in the professionals. By the end, you’ll have the knowledge to keep your attic dry and your home healthy for years to come.
Understanding Attic Moisture
Before you can solve the problem, you need to understand it. Attic moisture is more than just a few drops of water; it’s a persistent issue that can compromise your home’s integrity.
The Problem: Why Attic Moisture Matters
Excess moisture in your attic is a breeding ground for trouble. When warm, humid air gets trapped, it condenses on cooler surfaces like roof sheathing, rafters, and insulation. This creates the perfect environment for:
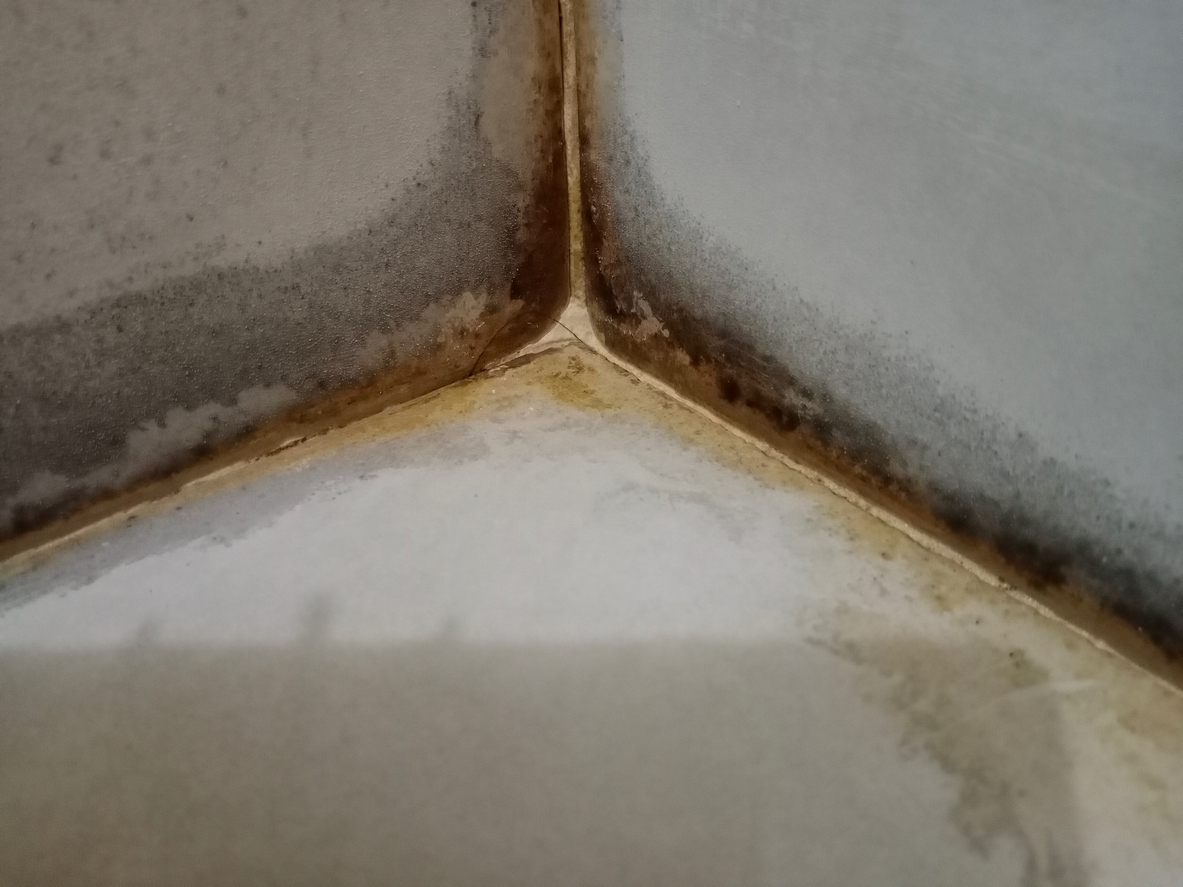
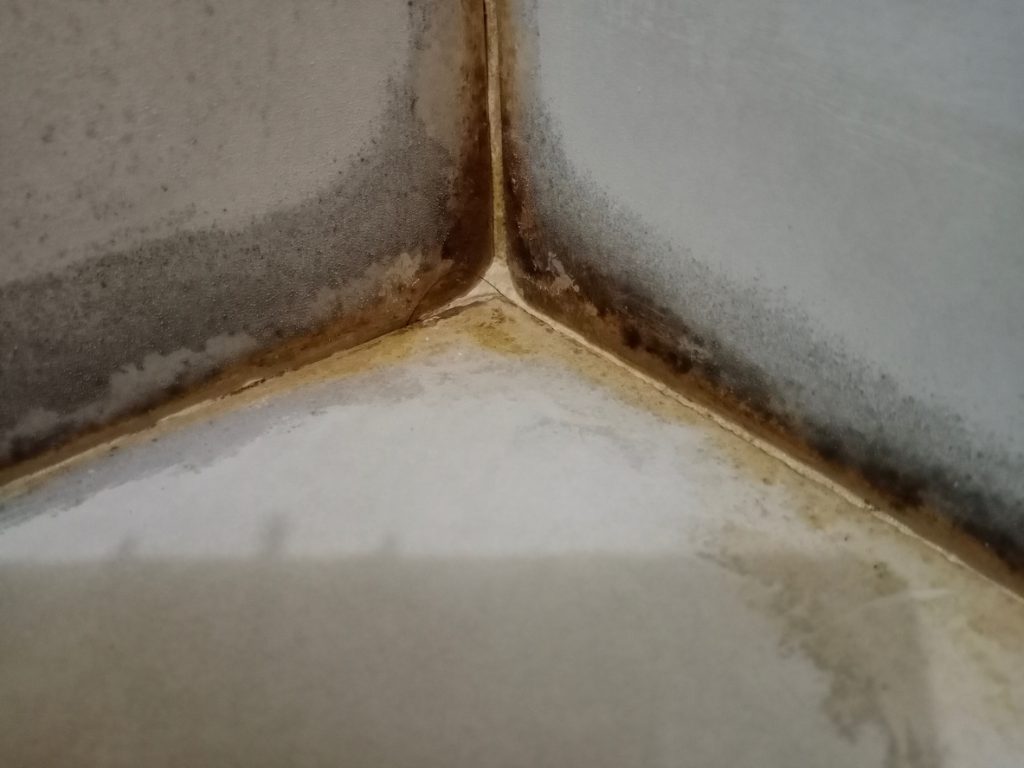
- Mold and Mildew Growth: Mold thrives in damp, dark environments, and an infestation can spread quickly. This damages wooden structures and insulation. More importantly, mold releases airborne spores that can trigger allergies, asthma, and other respiratory problems.
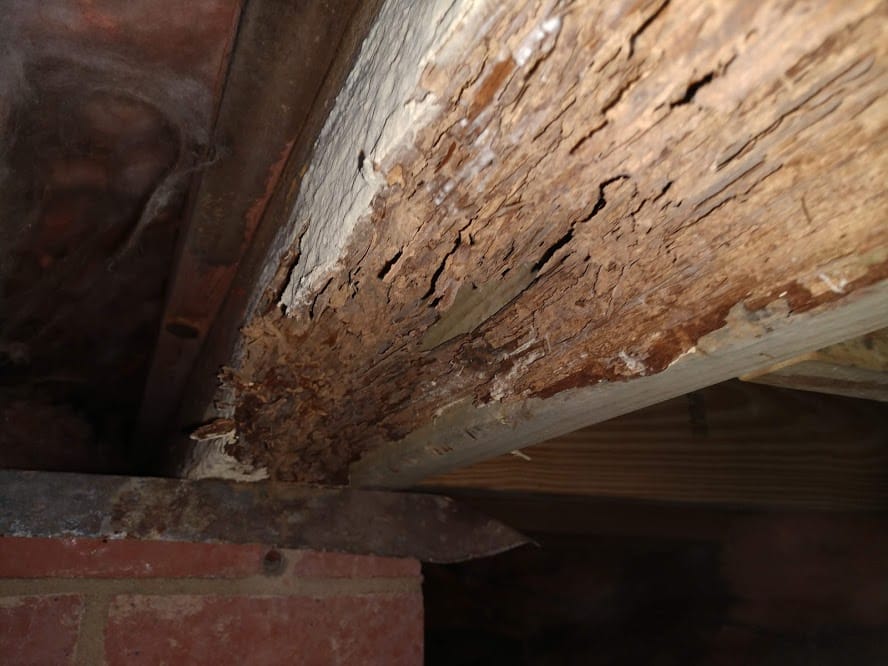
- Wood Rot: Prolonged moisture exposure weakens wood structures like rafters and roof decking, potentially causing costly structural damage.
- Damaged Insulation: Wet insulation can no longer trap air effectively. This forces your HVAC system to work overtime to keep your home comfortable, leading to higher energy bills.
- Pest Infestations: Damp wood and materials attract pests like termites, carpenter ants, and rodents, who see your attic as an ideal place to nest.
- Ice Dams: In colder climates, inadequate attic ventilation and insulation can lead to ice dams. These occur when snow on the roof melts and refreezes at the eaves, blocking proper drainage. This can force water under your shingles, causing leaks in your attic and walls.
Quick Solutions vs. Long-Term Prevention
It can be tempting to look for a quick fix, like placing a dehumidifier in the attic. While this might provide temporary relief, it doesn’t address the underlying cause. A dehumidifier will run constantly, consuming energy and eventually failing to keep up if the source of the moisture isn’t resolved.
Long-term prevention is the only effective strategy. This involves a comprehensive approach that includes identifying and sealing air leaks, ensuring proper ventilation, and installing the right insulation. By creating an attic environment that is dry and well-ventilated, you stop moisture problems before they can even start.
Identifying Sources of Attic Moisture
Moisture can enter your attic from both inside and outside your home. Finding the source is the first critical step in solving the problem.
Indoor Sources: Bathrooms, Kitchens, and Laundry
Everyday activities in your home generate a significant amount of moisture. Cooking, showering, and doing laundry all release warm, humid air. If not vented properly, this air can find its way into your attic.
- Bathroom and Kitchen Vents: Ensure that exhaust fans from your bathroom and kitchen are vented outside your home, not into the attic. Venting them into the attic will release moist air that can cause condensation.
- Dryer Vents: Similarly, your clothes dryer must be vented directly outdoors. A disconnected or leaking dryer vent can pump gallons of moisture into your home’s structure.
- Air Leaks: Gaps around light fixtures, plumbing stacks, attic hatches, and wiring can create pathways for warm, conditioned air from your living space to rise into the cooler attic. This is a primary cause of condensation.
Outdoor Sources: Climate, Leaks, and Ventilation
The weather outside also plays a major role. Humid climates naturally have more moisture in the air, but even in dry regions, outdoor sources can cause problems.
- Roof Leaks: A damaged or aging roof directly allows water entry. Look for missing/broken shingles, damaged flashing around chimneys and vents, or water stains on the underside of the roof decking. Even a small leak can introduce significant moisture over time.
- Clogged Gutters: When gutters are full of leaves and debris, water can back up and seep under the roofline, penetrating the soffits and attic.
- Poor Ventilation: An attic needs a balanced ventilation system to allow moist air to escape and fresh air to enter. Blocked or inadequate vents can trap humidity, leading to condensation.
Step-by-Step Guide to Inspecting Your Attic
A thorough inspection will help you identify signs of moisture and pinpoint the cause. Before you begin, make sure to prioritize safety.
Safety First: Protective Gear
Your attic can be a hazardous environment. Always wear the right protective gear:
- Dust Mask or Respirator: To protect your lungs from insulation fibers, dust, and potential mold spores.
- Goggles: To shield your eyes from debris.
- Gloves: To protect your hands.
- Long-Sleeved Shirt and Pants: To prevent skin irritation from insulation.
- Sturdy Shoes: To ensure stable footing on joists.
Be extremely careful where you step. Only walk or place weight on the wooden joists. The drywall ceiling below will not support your weight.
Visual Inspection: Signs of Moisture
Use a bright flashlight to carefully examine all areas of your attic. Look for:
- Water Stains or Discoloration: Check the underside of the roof decking, rafters, and joists for dark streaks or stains.
- Frost or Condensation: On cold days, you might see a layer of frost on the nails protruding through the roof sheathing or on the sheathing itself.
- Black Spots or Fuzzy Growth: These are clear signs of mold or mildew. Pay close attention to areas around vents and where the roof planes meet.
- Damp or Matted Insulation: Wet insulation will look compressed and feel damp to the touch.
- Rusted Metal: Look for rust on nails, metal gusset plates, and plumbing stacks.
Tools You’ll Need
In addition to safety gear and a flashlight, a few other tools can be helpful:
- Moisture Meter: This device measures the moisture content in wood and other materials. It can help you confirm if an area is damp and track down the source of a leak.
- Infrared Camera: For a more advanced inspection, an infrared camera can detect temperature differences that indicate wet insulation or air leaks.
- Tape Measure: Useful for checking the depth of your insulation.
Effective Solutions for Moisture Control
Once you’ve identified the source of the moisture, you can take steps to fix it. A combination of improved ventilation, air sealing, and proper insulation is usually required.
- Soffit Vents: These are located under the eaves and serve as the primary air intake. Make sure they are not blocked by insulation, paint, or debris.
- Ridge Vents: Installed along the peak of the roof, these are the most effective exhaust vents. They provide a continuous opening for hot, moist air to escape.
- Gable Vents: Located on the exterior walls at the ends of the attic, these can also serve as exhaust vents, though they are generally less effective than ridge vents.
- Powered Attic Ventilators: These fans actively pull air out of the attic. However, they can sometimes create negative pressure that pulls conditioned air from your living space, increasing energy costs. A balanced passive ventilation system is often a better choice.
Sealing Air Leaks: Caulk, Weather Stripping, and Spray Foam
Sealing air leaks between your living space and the attic is one of the most effective ways to control moisture. This prevents warm, humid air from rising into the attic in the first place.
- Use Caulk to seal small gaps and cracks around electrical wires, plumbing pipes, and ceiling joists.
- Apply Weather Stripping around the perimeter of your attic hatch or access door to create an airtight seal.
- Use Spray Foam to fill larger gaps, such as those around chimneys or dropped soffits in kitchens and bathrooms.
Focus on finding and sealing every possible air leak. This single step can make a massive difference in preventing attic condensation.
Insulation: Types and Proper Installation
Proper insulation is crucial for both energy efficiency and moisture control. It keeps your home comfortable and prevents the roof deck from getting cold enough for condensation to form.
- Types of Insulation:
- Fiberglass Batts: Common and easy to install, but can be less effective if not fitted perfectly.
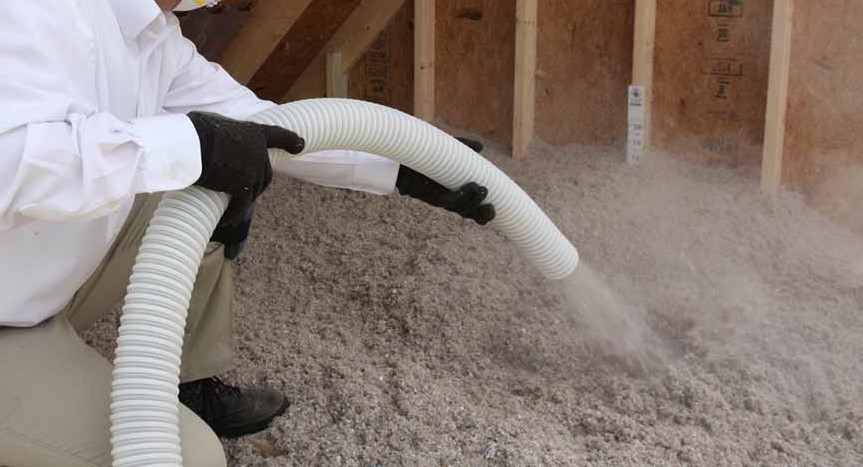
- Blown-In Fiberglass or Cellulose: Excellent for filling irregular spaces and creating a seamless thermal barrier.
- Spray Foam: Offers the best air sealing and insulating properties, but is also the most expensive option.
- Proper Installation: Insulation should be installed to the recommended R-value for your climate zone. It must be installed evenly and without gaps. Critically, do not block soffit vents with insulation. Use baffles to maintain a clear channel for air to flow from the soffits up to the roof deck.
Professional Help: When to Call Martin Exterminating
While many homeowners can handle basic attic inspections and minor repairs, some situations require professional expertise. If you discover widespread mold, significant structural damage, or complex ventilation issues, it’s time to call in the experts.
Martin Exterminating offers comprehensive moisture control services designed to protect your home. Our team has the training and tools to accurately diagnose and resolve even the most challenging attic moisture problems.
Expertise and Experience
Our technicians understand the science behind building performance and moisture dynamics. We don’t just treat the symptoms; we identify and correct the root cause. With years of experience serving homeowners, we know how to implement effective, long-lasting solutions tailored to your home’s specific needs.
Comprehensive Inspection and Treatment Plans
When you call Martin Exterminating, we’ll conduct a thorough inspection of your attic and entire home to identify all sources of moisture. Based on our findings, we’ll develop a customized treatment plan that may include:
- Professional mold remediation.
- Air sealing and insulation upgrades.
- Ventilation improvements.
- Crawl space encapsulation to control moisture from below.
We provide clear, detailed recommendations and work with you to find the best solution for your home and budget.
Maintaining a Dry Attic: Preventative Measures
Once you’ve addressed your attic moisture issues, ongoing maintenance is key to keeping it that way.
Regular Inspections
Inspect your attic at least twice a year, ideally in the fall and spring. Look for any new signs of leaks, mold, or pest activity. Check that your vents are clear and your insulation is in good condition.
Monitoring Humidity Levels
Consider placing a hygrometer (a humidity sensor) in your attic to monitor moisture levels. Ideally, the relative humidity in your attic should remain below 60%. If you notice a sustained increase, it’s a sign that you may have a new problem that needs to be addressed.
A Dry Attic for a Healthy Home
Your attic is more than just a storage space; it’s a vital part of your home’s structural and environmental system. By taking proactive steps to controlling the moisture, you protect your home from costly damage, improve your family’s health, and enhance your home’s energy efficiency. From sealing air leaks and improving ventilation to ensuring proper insulation, a multi-faceted approach is the key to long-term success.
If you’re facing attic moisture issues, don’t wait for the problem to get worse. A dry, well-ventilated attic is essential for a healthy home. For a professional assessment and a customized solution, contact Martin Exterminating today.
https://www.google.com/maps?cid=16959640794849830802


